A Comprehensive Guide to Installing Luxury Vinyl Tiles


Introduction to Luxury Vinyl Tiles
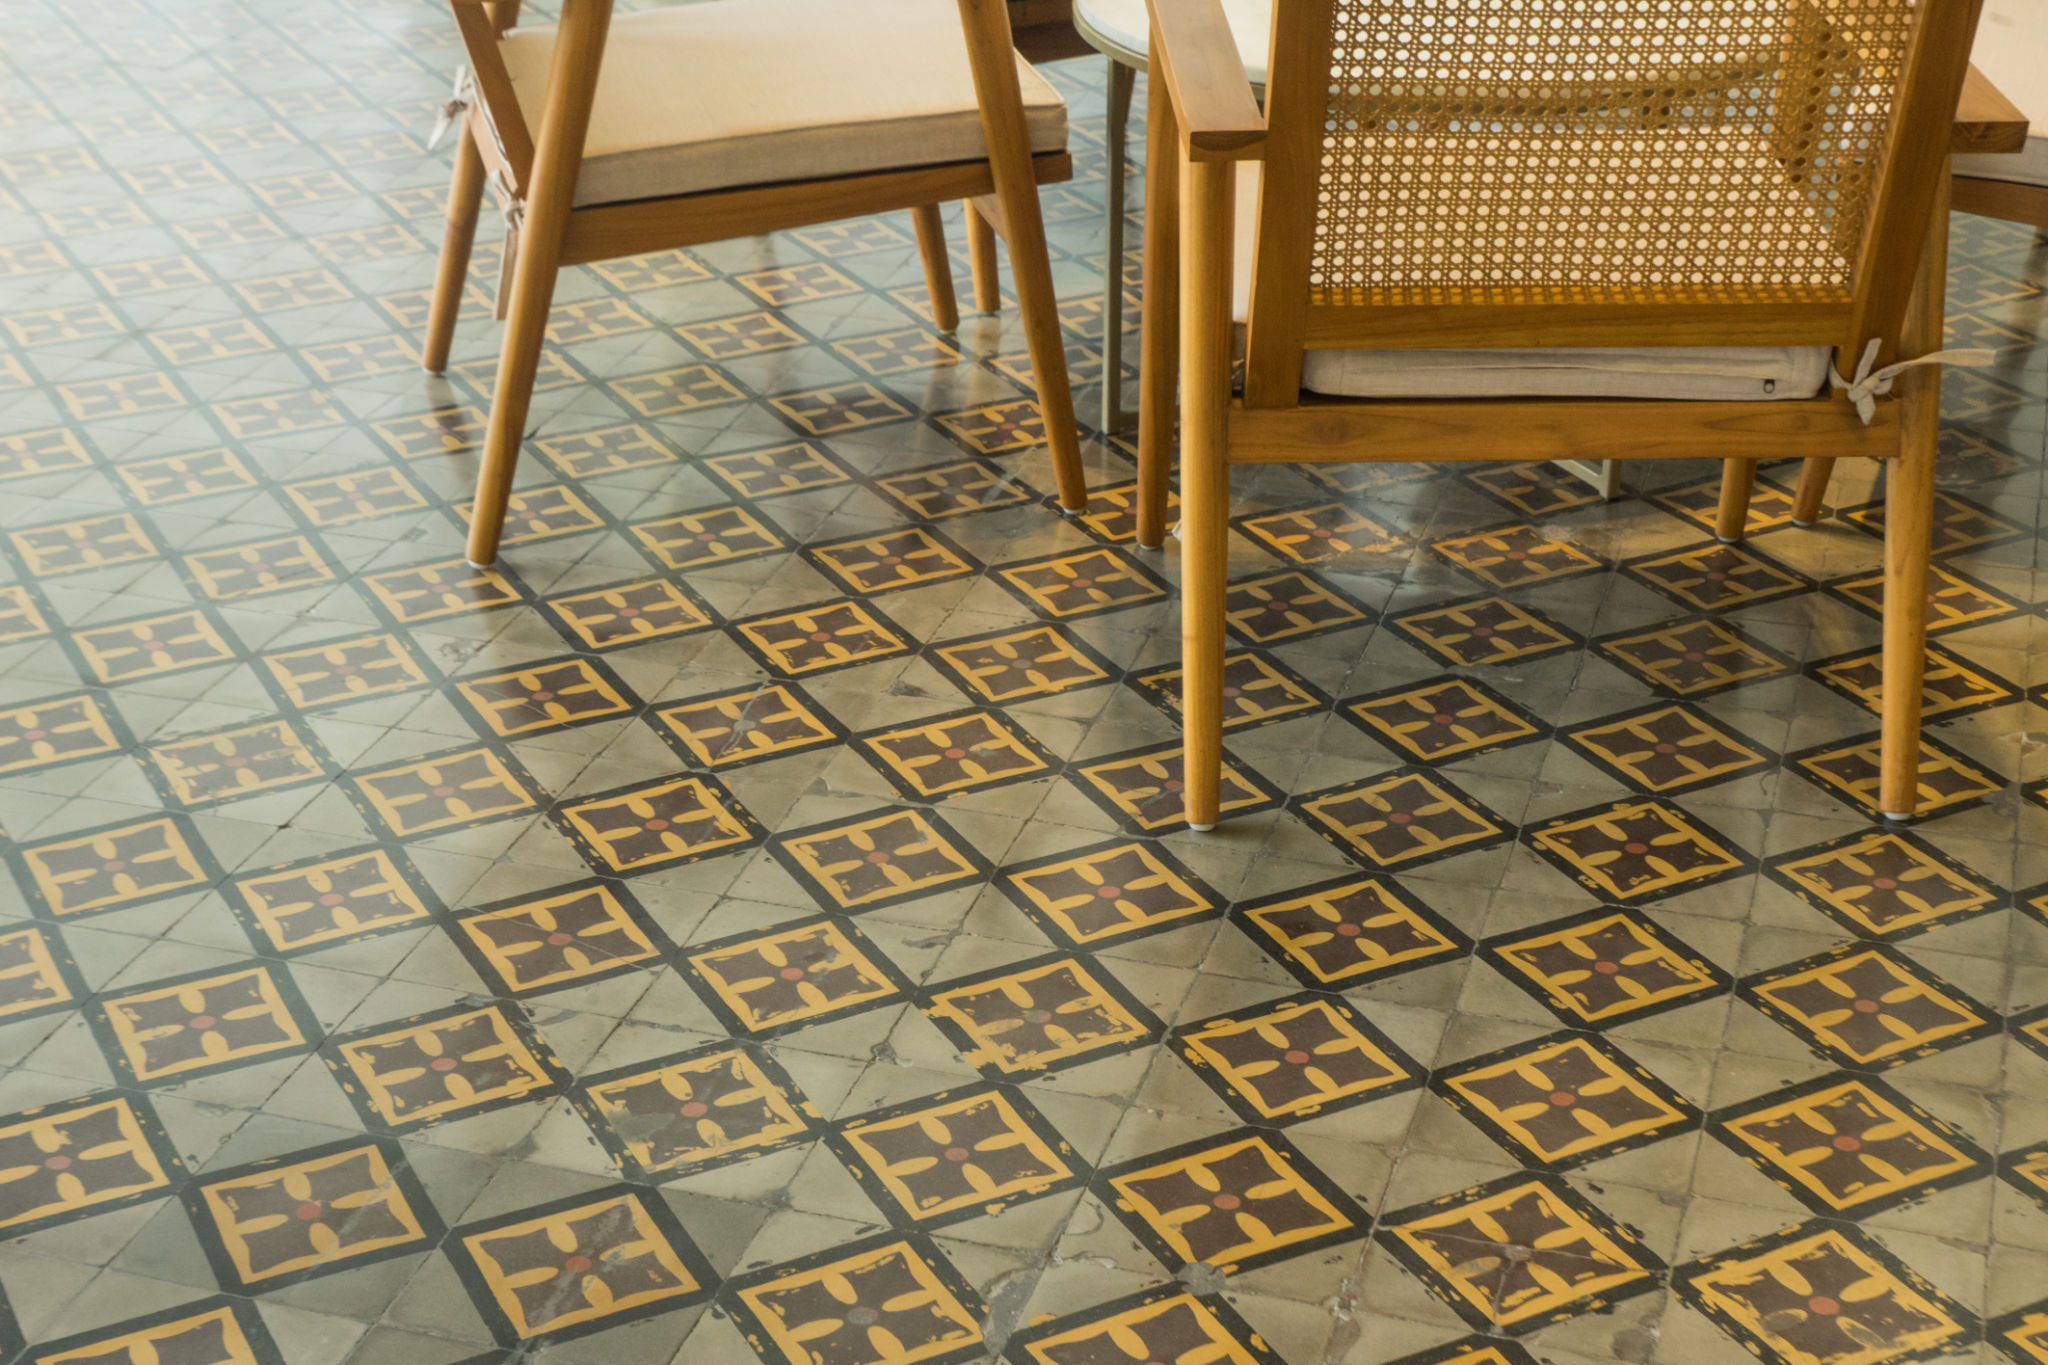
Luxury Vinyl Tiles (LVT) have become a popular flooring choice for homeowners and designers alike. They offer the perfect blend of aesthetics, durability, and affordability, making them an attractive option for various spaces in the home. With advancements in technology, LVT now mimics the look of natural materials such as wood and stone with impressive realism.
In this guide, we'll walk you through the installation process of LVT, ensuring a smooth and seamless transformation of your floors. Whether you're a DIY enthusiast or hiring a professional, understanding these steps will help you achieve the best results.
Preparing Your Space
Gathering Necessary Tools and Materials
Before you begin, make sure you have all the necessary tools and materials on hand. You'll need:
- Luxury Vinyl Tiles
- Underlayment (if required)
- Utility knife
- Tape measure
- Carpenter's square
- Adhesive or click-lock system (depending on tile type)
- Roller or mallet
Preparing the Subfloor
For a successful installation, the subfloor must be clean, dry, and level. Remove any old flooring and ensure there are no protruding nails or debris. If the subfloor is uneven, consider using a leveling compound to smooth it out. This step is crucial for preventing any imperfections from showing through your new floor.

Installing the Luxury Vinyl Tiles
Acclimating Your Tiles
Before installation, allow your LVT to acclimate to the room's temperature and humidity for at least 48 hours. This helps prevent expansion or contraction after installation, ensuring a snug fit. Simply lay the boxes of tiles flat in the room where they'll be installed.
Laying Out the Tiles
Begin by determining the layout of your tiles. It's best to start from the center of the room and work outwards to ensure a balanced look. Use your tape measure and carpenter's square to mark straight lines on the floor as guides for laying the tiles.

Installing the Tiles
If you're using adhesive tiles, apply the adhesive according to the manufacturer's instructions, then place each tile carefully, pressing firmly to ensure adhesion. If using a click-lock system, align the edges and click them into place. Use a roller or mallet to secure each tile in position.
Finishing Touches
Trimming and Securing Edges
Once all tiles are laid, use a utility knife to trim any excess at the room's edges. Ensure each tile fits snugly against walls and fixtures. Consider installing baseboards or trim to cover any gaps and give your floor a polished finish.
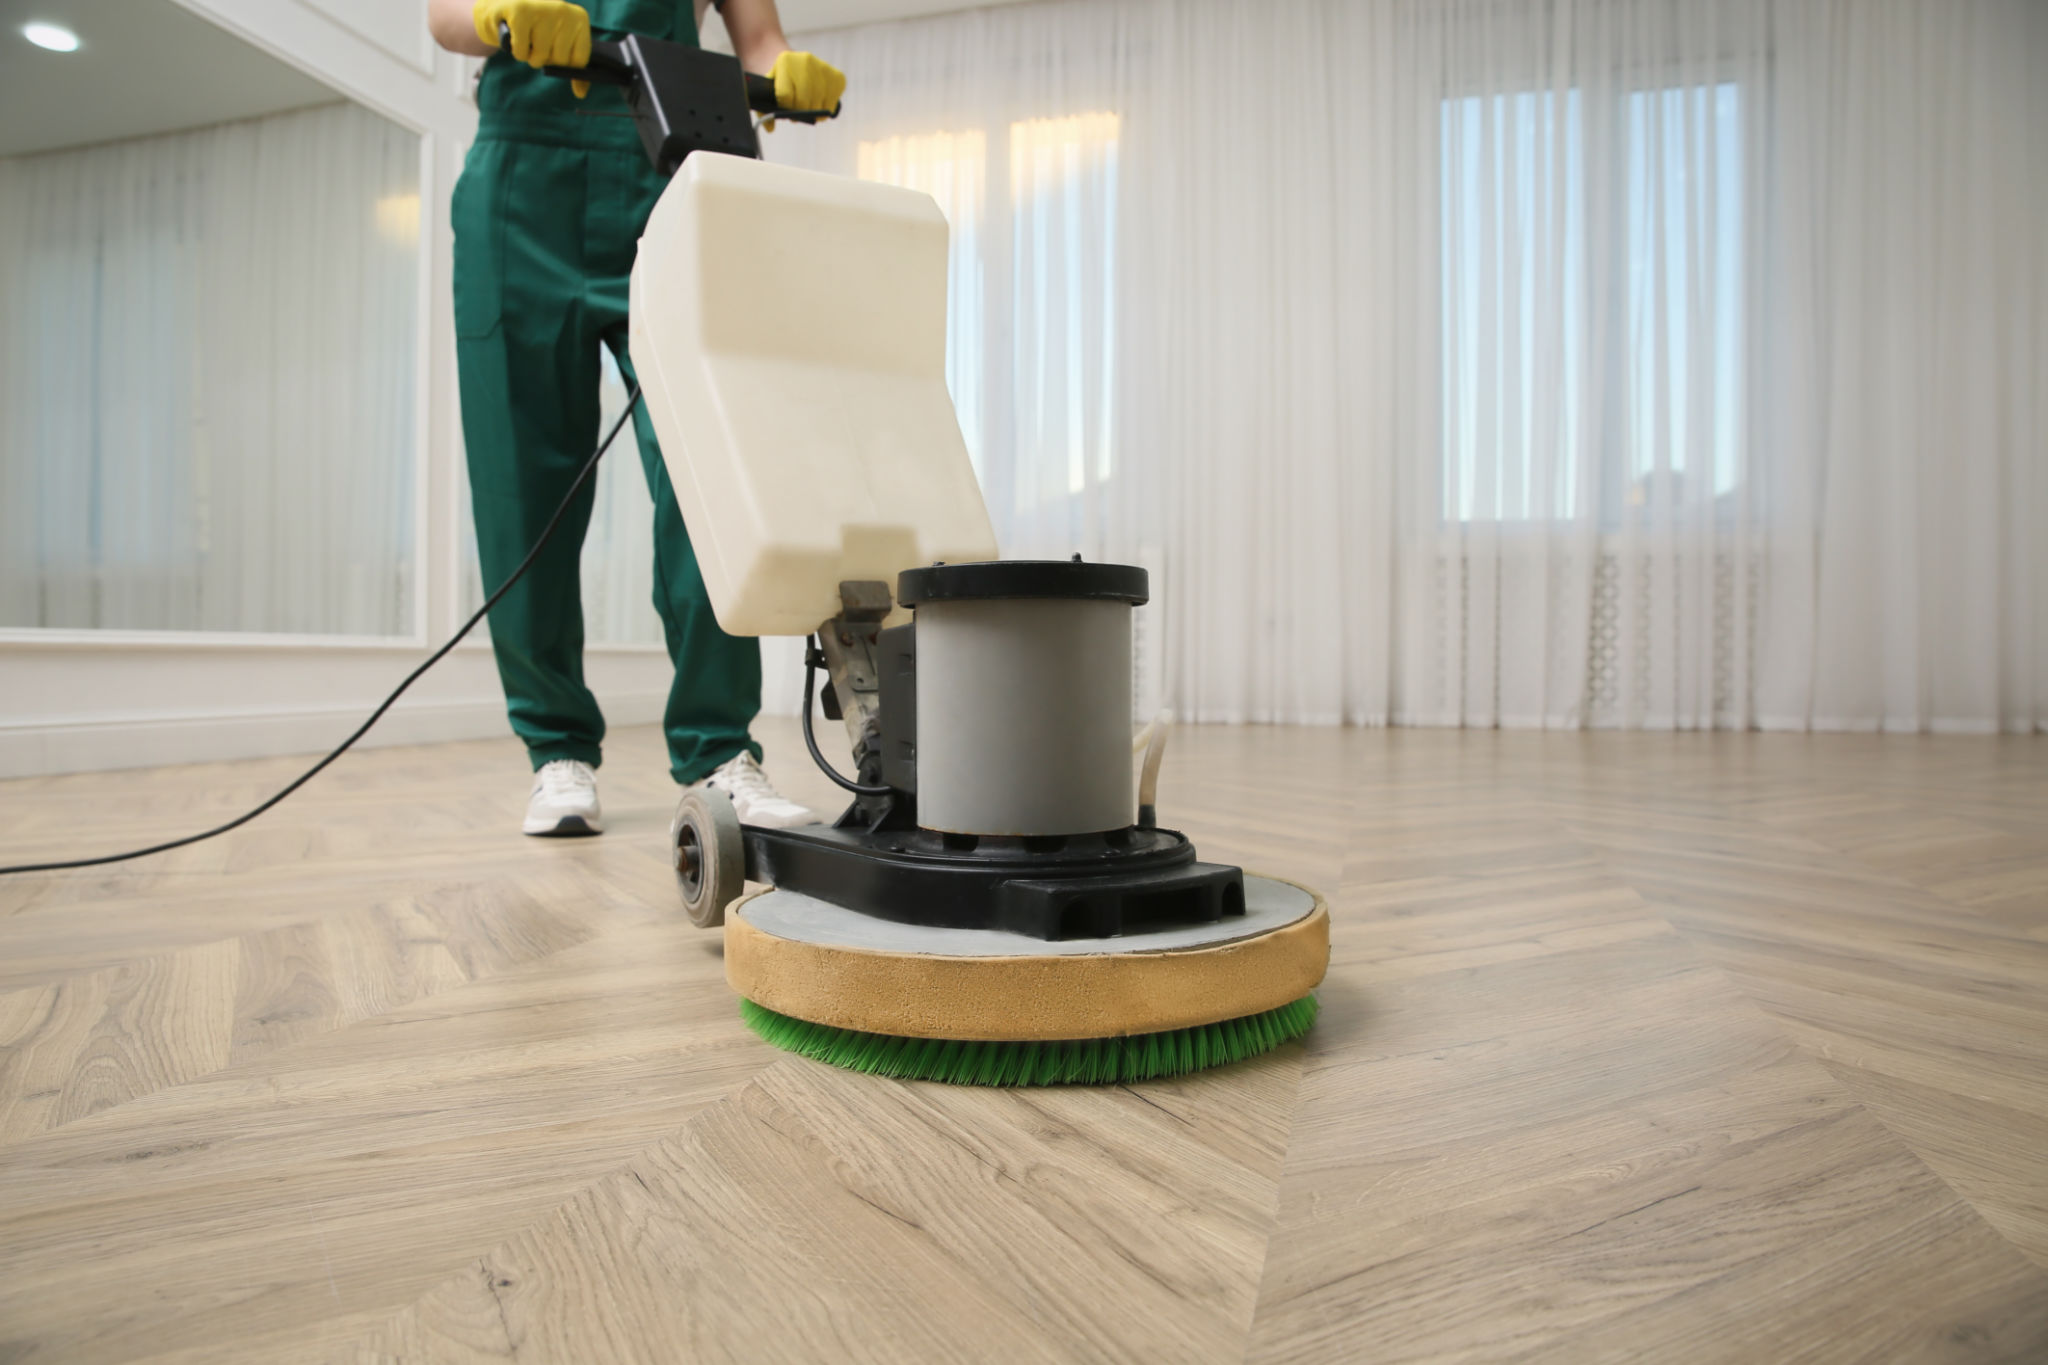
Caring for Your New Floor
To maintain the beauty of your LVT floor, follow a regular cleaning routine using products recommended by the manufacturer. Avoid abrasive cleaners that could damage the surface. With proper care, your luxury vinyl tiles will remain stunning and durable for years to come.
By following these steps, you'll have a beautiful and long-lasting LVT floor that enhances your home's aesthetic appeal. Whether you're revamping a single room or your entire house, luxury vinyl tiles offer a versatile solution that's both stylish and practical.