Step-by-Step: Installing Hardwood Flooring Like a Pro


Gathering Your Tools and Materials
Before diving into the installation process, it's essential to gather all necessary tools and materials. This preparation will ensure a smooth workflow without unexpected interruptions. Make sure to have tools like a tape measure, chalk line, saw, hammer, and nail gun handy. Additionally, you'll need materials such as hardwood planks, underlayment, and nails.
The choice of hardwood is crucial; consider factors like durability, color, and grain patterns to match your home's aesthetics. Once you've selected the perfect hardwood, calculate the required quantity by measuring the room's square footage. It's advisable to purchase an extra 10% to account for any mistakes or future repairs.
Preparing the Subfloor
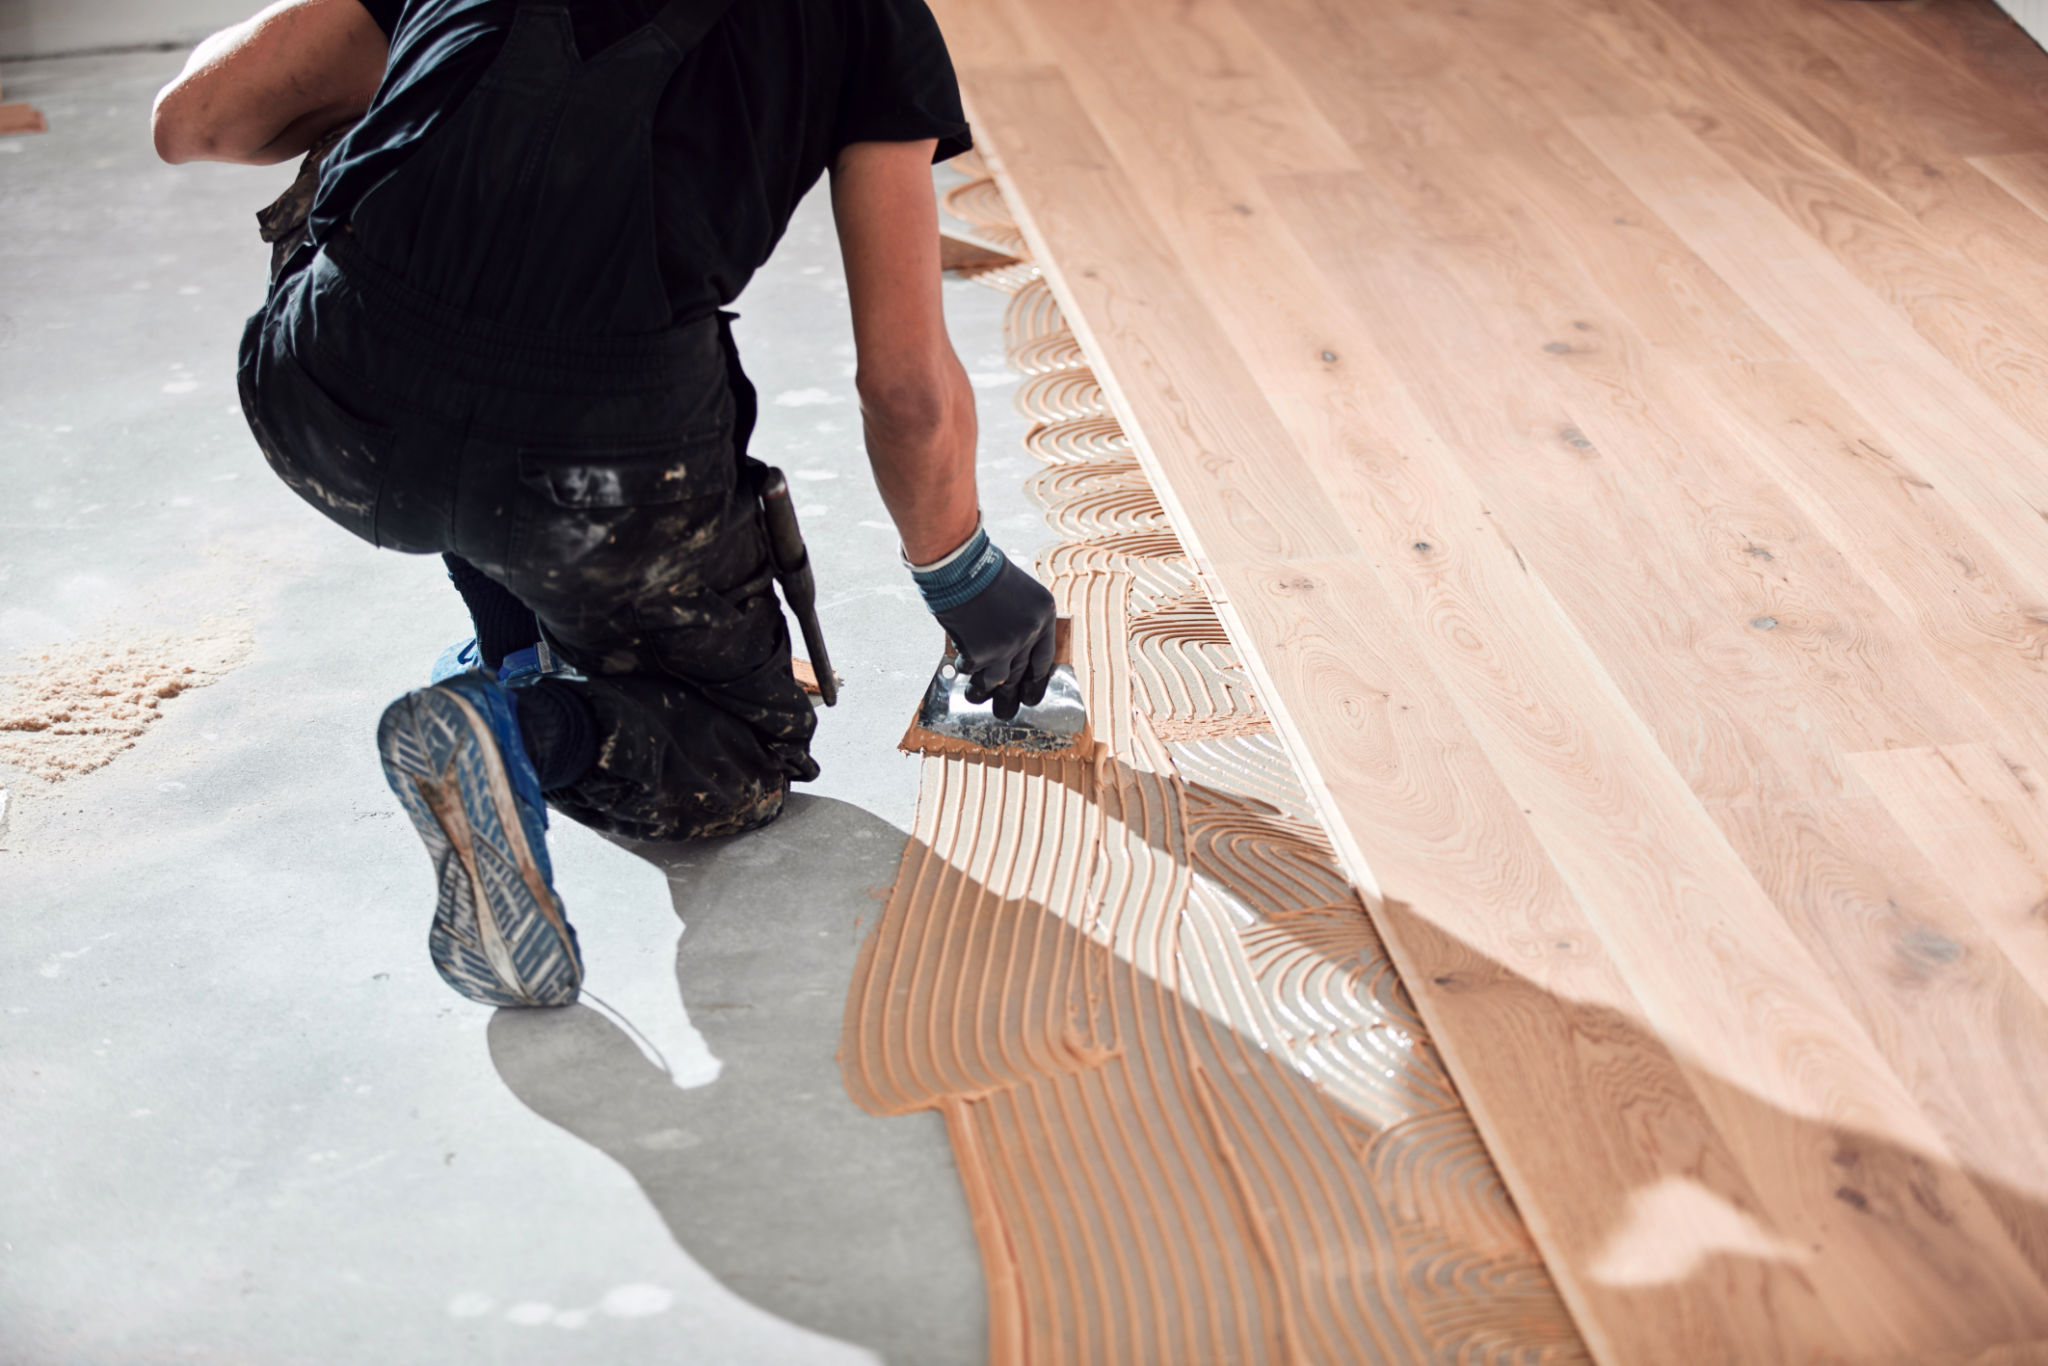
A successful hardwood floor installation begins with a well-prepared subfloor. Start by clearing the room of furniture and any existing flooring materials. Inspect the subfloor for any damages or irregularities. It should be clean, dry, and level; any imperfections could affect the final result.
If you're dealing with a concrete subfloor, ensure it's fully cured and moisture-free. For wooden subfloors, secure any loose boards and sand down high spots. Installing an underlayment is recommended as it provides added insulation and noise reduction.
Acclimating Your Hardwood
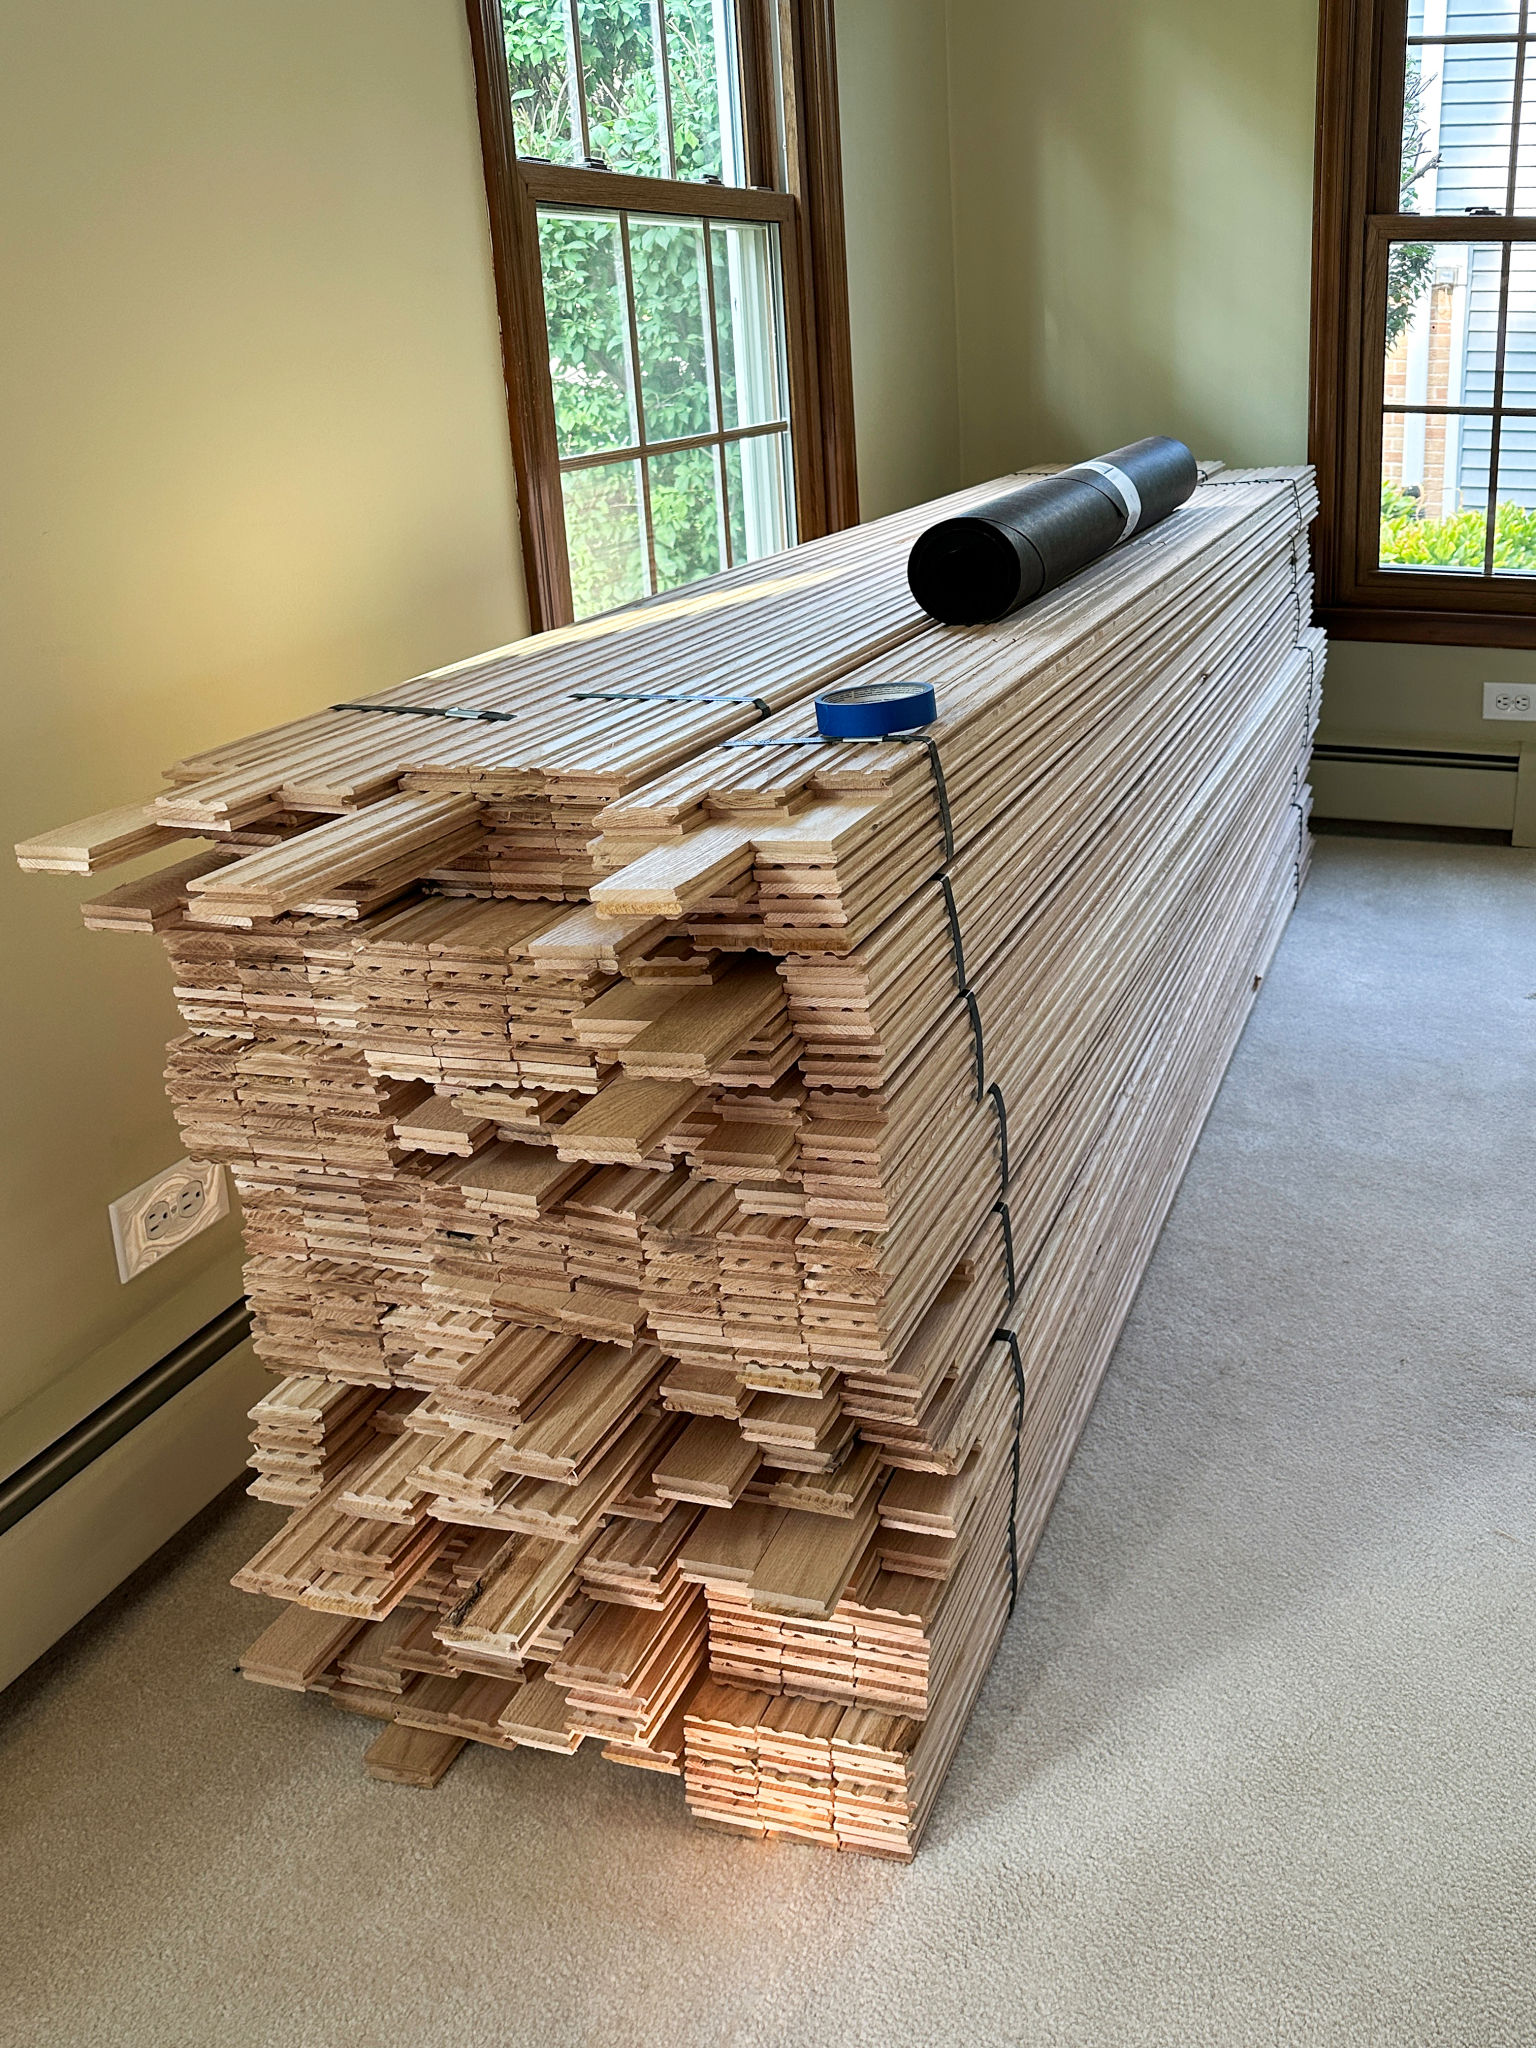
Before installation, it's crucial to acclimate your hardwood planks to the room's environment. This step helps prevent future warping or gaps. Place the planks in the installation area for at least 48 hours, allowing them to adjust to the room's temperature and humidity.
Planning Your Layout
Careful planning of your layout ensures a professional-looking finish. Begin by deciding on the direction of your flooring; typically, running planks parallel to the longest wall or in line with natural light sources is aesthetically pleasing. Use a chalk line to mark your starting point and maintain a straight guide throughout installation.
For a natural look, mix planks from different boxes to avoid noticeable patterns in color or grain. Consider starting from a corner of the room that's most visible upon entry for a seamless appearance.
Installing the First Rows
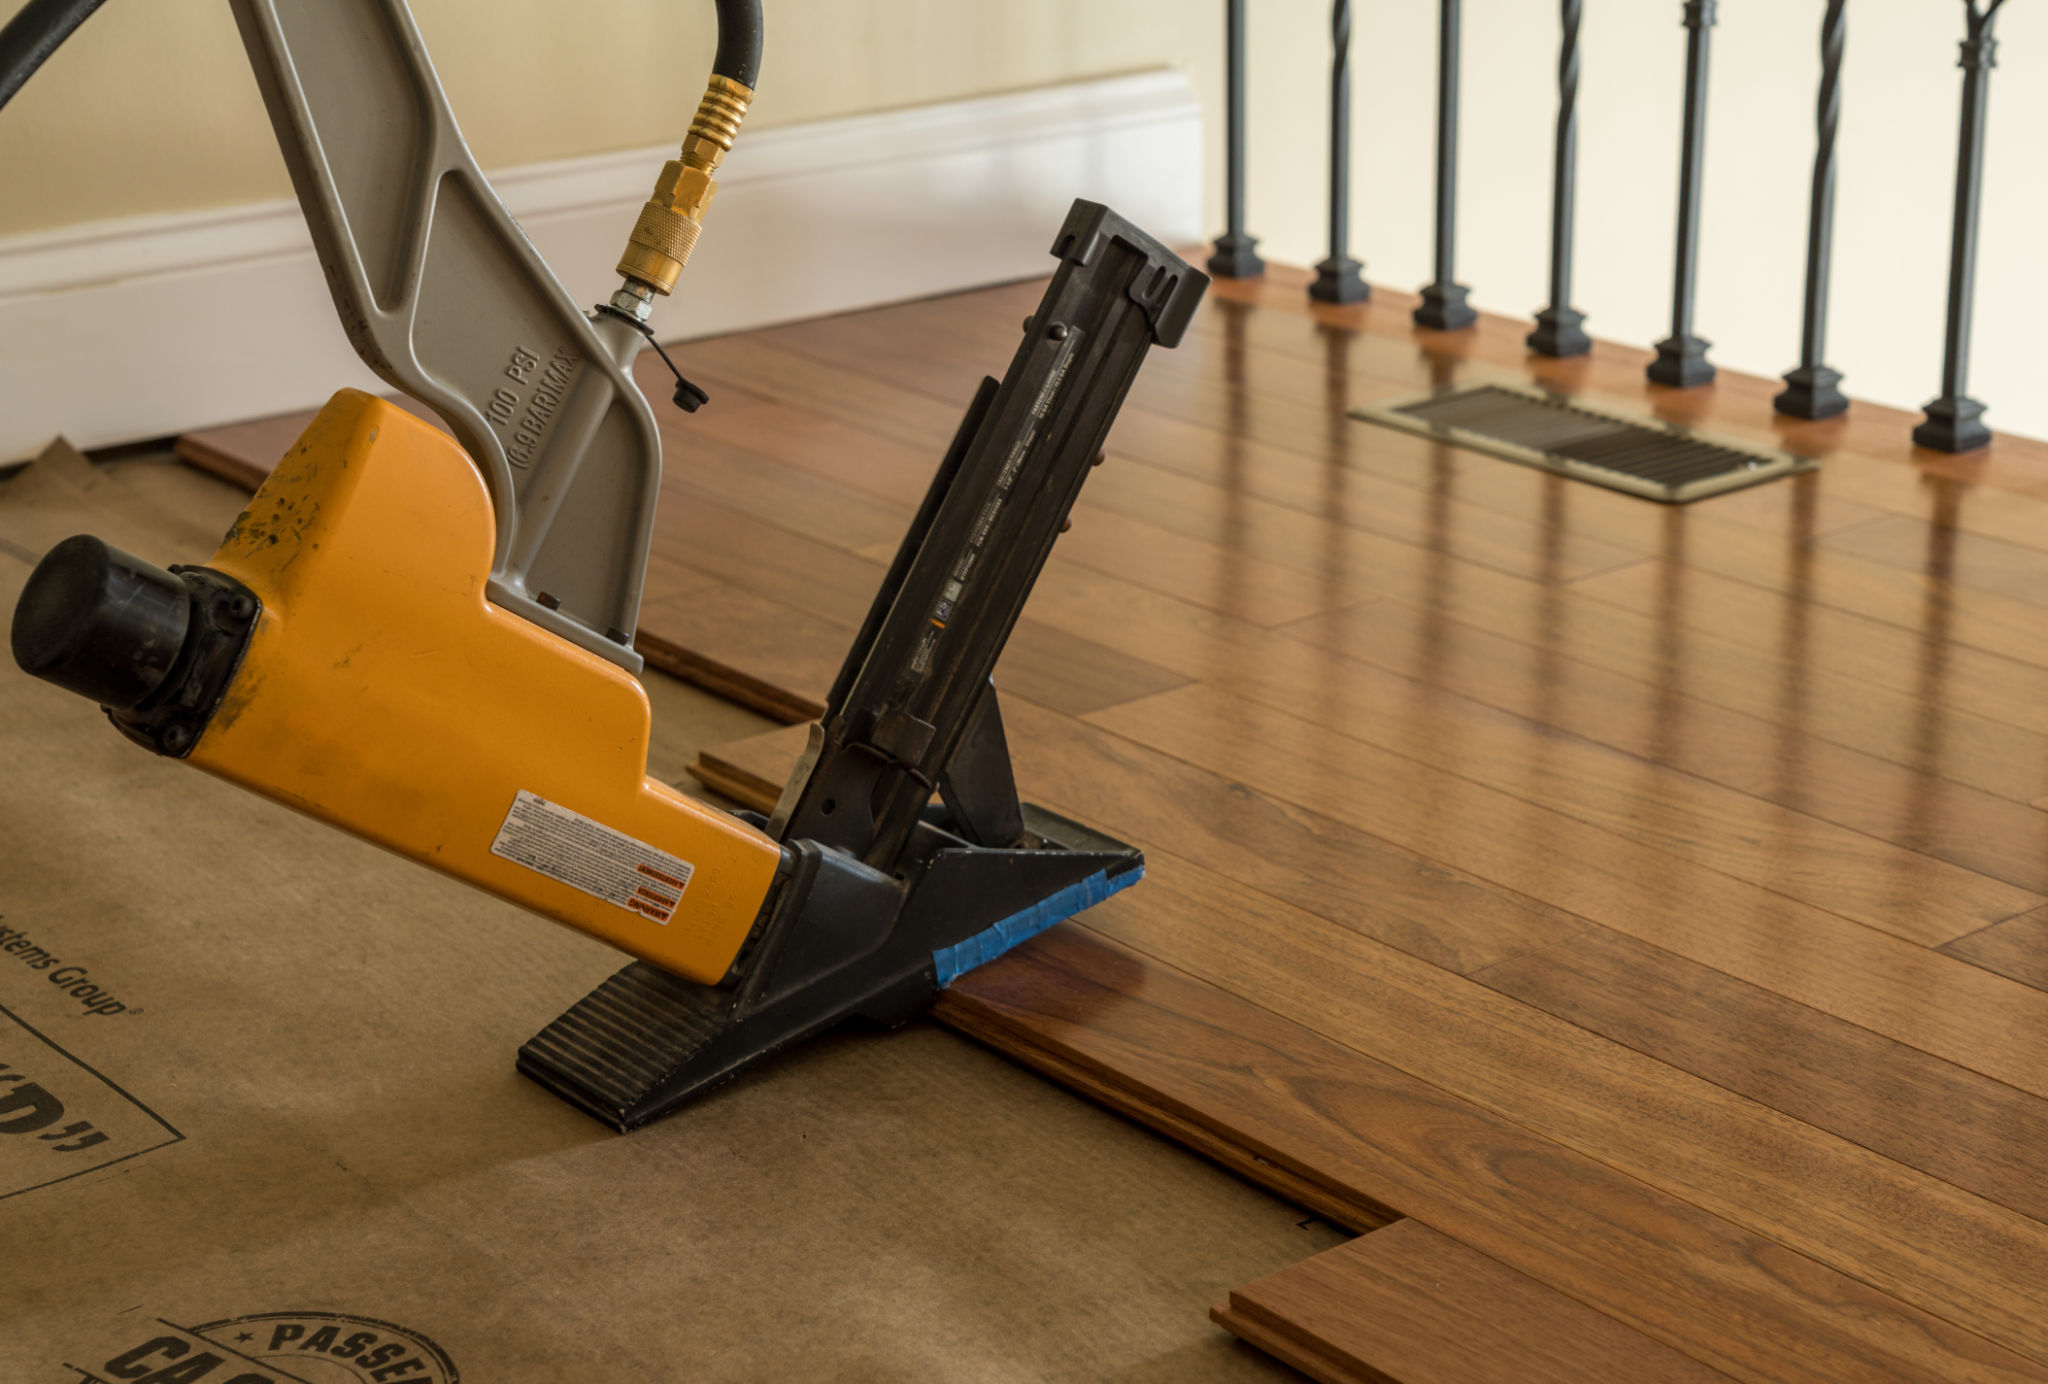
With your layout planned, it's time to install the first rows of hardwood. Begin by positioning the first plank with its grooved edge facing the wall, leaving a small expansion gap between the wall and plank. Secure it using a nail gun or hammer and nails. This gap allows for natural expansion and contraction of the wood.
Continue laying subsequent planks in this row, ensuring each piece fits snugly into the previous one's tongue and groove system. Use a tapping block to gently tap planks into place, maintaining tight seams.
Completing the Installation
After completing the initial rows, continue laying planks across the rest of the room. Stagger plank ends by at least six inches in adjacent rows to create a more stable and visually appealing floor. Cut any pieces as needed to fit around obstacles or at row ends.
As you reach the final row, you may need to cut planks lengthwise to fit. Remember to leave an expansion gap along this wall as well. Once all planks are installed, remove any spacers used during installation.
Finishing Touches
Finally, it's time for finishing touches that enhance both appearance and durability. Install baseboards or moldings to cover expansion gaps and give your floor a polished look. Consider applying a protective finish if your hardwood isn't pre-finished—this adds an extra layer of protection against wear and tear.
Regular maintenance is key in preserving your new hardwood floor; sweep regularly to remove dust and debris, and use appropriate cleaning products designed for hardwood surfaces.